If you've ever wondered how the Blacklist feature works in Buzz, we've prepared a comprehensive guide to help you maximize your campaign efficiency.
What is the Blacklist and Where Can You Find It?
The Blacklist feature allows you to preemptively exclude undesirable prospects from being added to your campaigns. This saves you time and effort by reducing the need for manual filtering.
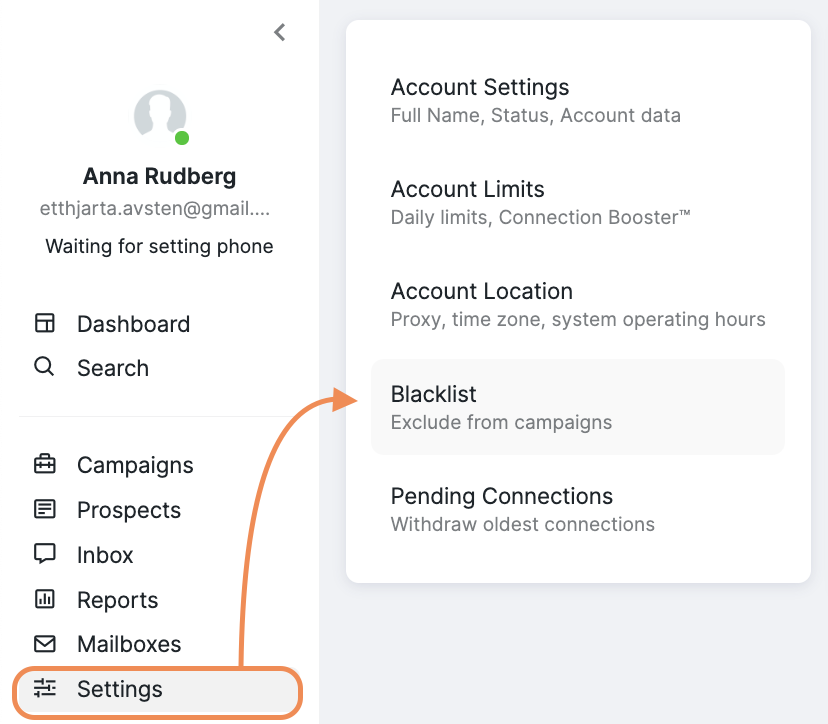
You can access Blacklist settings by navigating to the Settings tab and selecting Blacklist from the menu.
How to Blacklist Prospects
When you first see the Blacklist field, you might wonder what should be entered.
It’s simple: enter any criteria you wish to exclude from your campaigns. This could include specific names, workplaces, emails, job positions, etc. The complete list of applicable criteria is visible in the screenshot above.
To add a blacklist trigger, type the word or phrase into the field and press Enter or Return on your keyboard to separate multiple entries.
To delete all blacklisted words, click the Clear All button. To remove a specific word, double-click on it to erase it.
You can also blacklist specific prospects by entering direct links to their Social profiles. Just copy the profile link and paste it into the field. Please note that this only works for open Social profiles.
A valid link should end with: /in/john-doe-1234ab567 or /in/john-doe-1234ab567/[anything]. Hashed links (e.g., /in/ABcDEFG...) are not supported.
Note: When you blacklist a word (e.g., "Buzz"), any prospects with that exact word as their company name or first name will be blacklisted. However, prospects with names that contain the blacklisted word as part of a longer phrase (e.g., "Buzz Outreach") will not be affected.
Uploading a CSV File for Your Blacklist
If you already have a CSV file containing prospect data you want to exclude from your campaigns, you can upload it by clicking Upload CSV under the input field.
Formatting requirements:
Leave the first row blank;
Separate all values using either a comma or a semicolon.
If any of the values match the data pulled for a prospect, that prospect will be added to the Blacklist.
If you've uploaded a CSV file but want to undo the upload, simply click the Cancel Recent Upload button. This option is available as long as you haven't navigated to another tab on the platform.
How to Manually Add Prospects to the Blacklist
You can manually blacklist prospects by following these steps:
Go to the Prospects tab.
Locate the prospect(s) you want to blacklist.
Tick the box next to their name(s), then select Action > Exclude from Campaigns.
Alternatively, you can perform this action directly from a prospect’s info card:
Why Isn’t a Prospect in the Blacklist After I Blacklisted Them?
A prospect may not be added to the blacklist for the following reasons:
Insufficient Information – If the system doesn’t have enough details about the prospect, it may not be able to apply the blacklist.
Mismatch in Blacklisted Word – The blacklist only applies to exact matches. For example, if you blacklist "Apple", a prospect with "Apple Inc." as their company name will not be blacklisted.
How to Remove Prospects from the Blacklist
If you change your mind or mistakenly blacklist a prospect, or you can always remove them from the list by:
Going to the Prospects tab.
Finding the prospect you want to remove.
Ticking the box next to their name.
Selecting Action > Remove from Blacklist.
We hope this guide has helped you better understand the Blacklist feature. If you encounter any issues or need further assistance, feel free to contact us anytime.