Connecting Your CRM Via Zapier
Last updated: April 2, 2026
Now that we have the basis of Zapier & Webhooks understood, let's look at how to use them. In this case, let's focus on CRMs.
Here is a step-by-step guide on connecting with just Zapier:
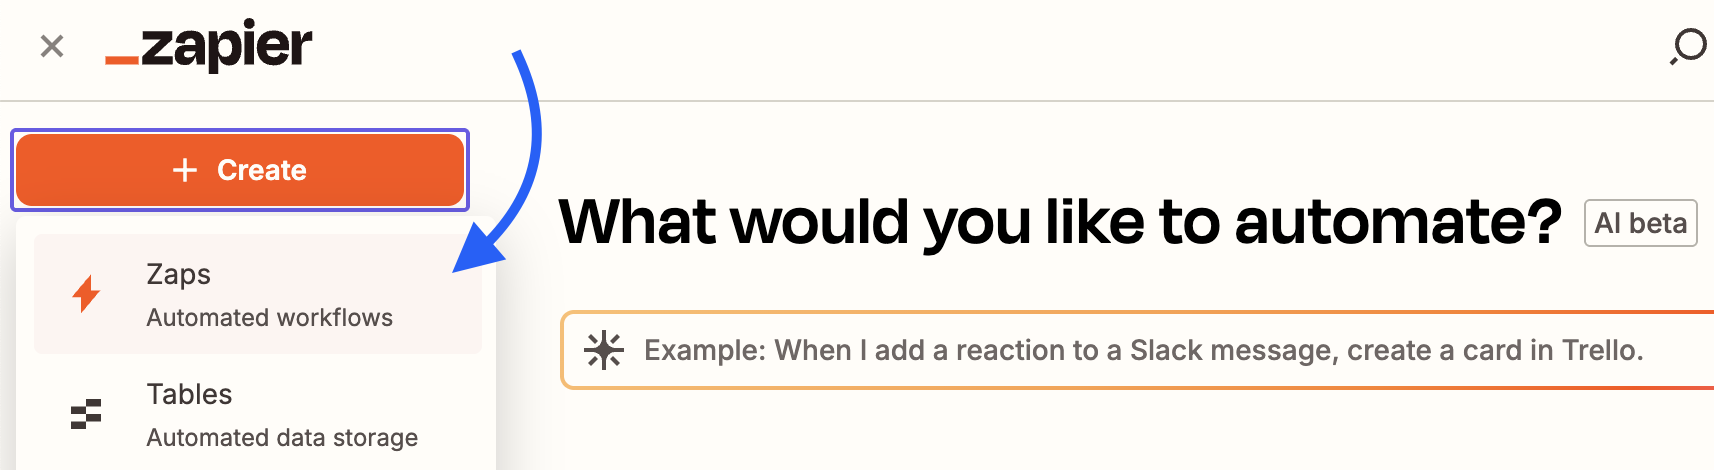
Log in to Zapier and navigate to Create > Zaps.
2. In the list of available apps, search for Buzz:

3. Click Buzz to open the setup window.

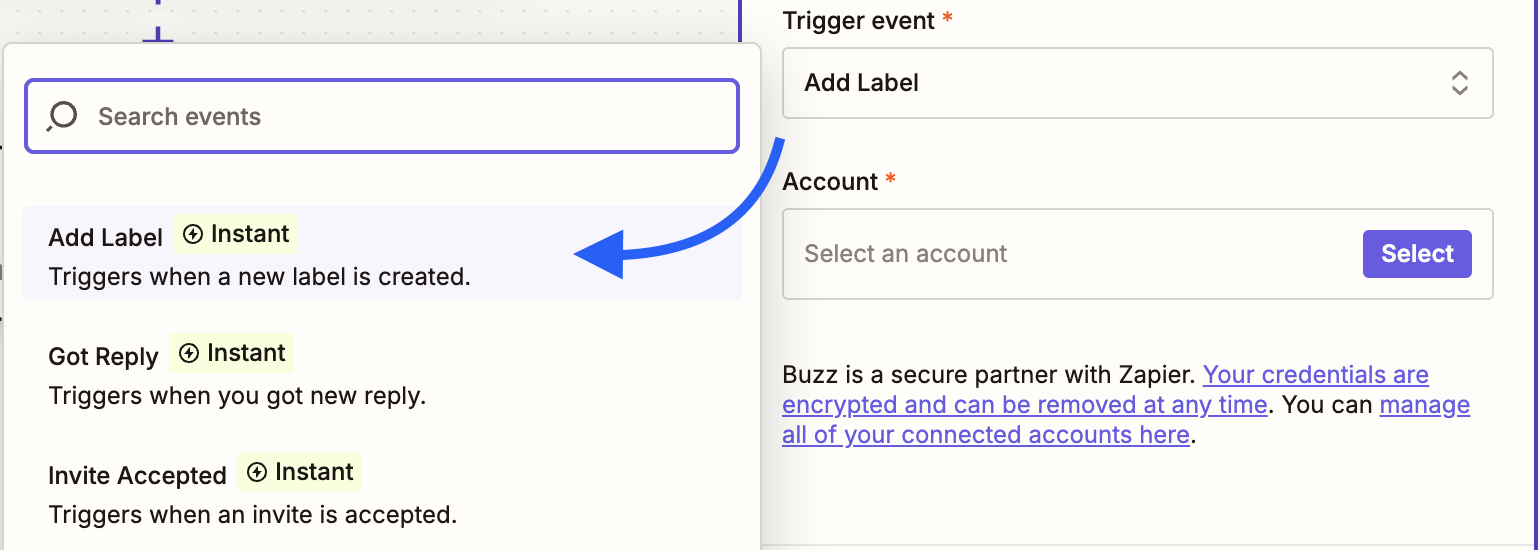
4. Click Trigger event to define what will trigger the Zap. In this case, we will choose Add Label.
5. Click Continue until you get to the Test step. Press Test your trigger — a success message should appear if everything is set up correctly:

6. Click Close, then proceed to select an Action, which determines where the information will be sent.

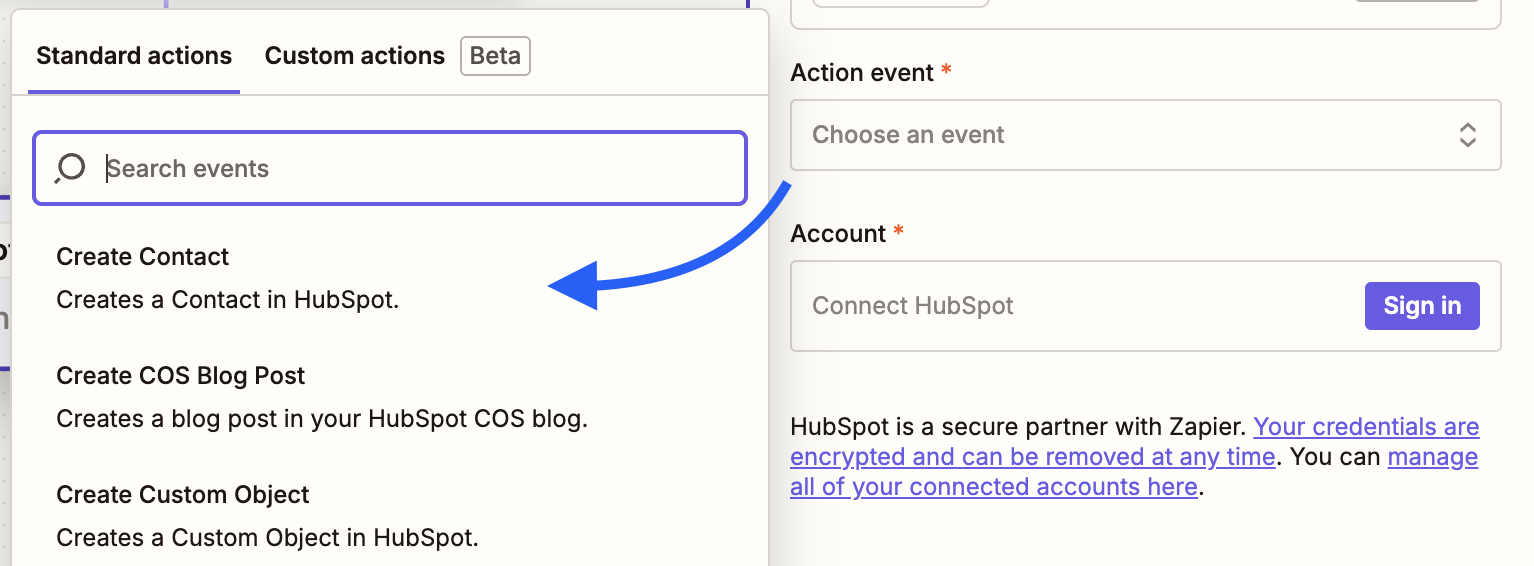
7. Search for and select the app you want to connect — here, we'll use HubSpot.

8. Choose the Event that should happen once the label is added (or any other trigger). In this case, we'll select Create Contact.
9. Sign in to the app you’re integrating, then click Continue.

10. In the Configure step, follow the prompts to map the information you want to transfer. Leave irrelevant fields blank, then click Continue.
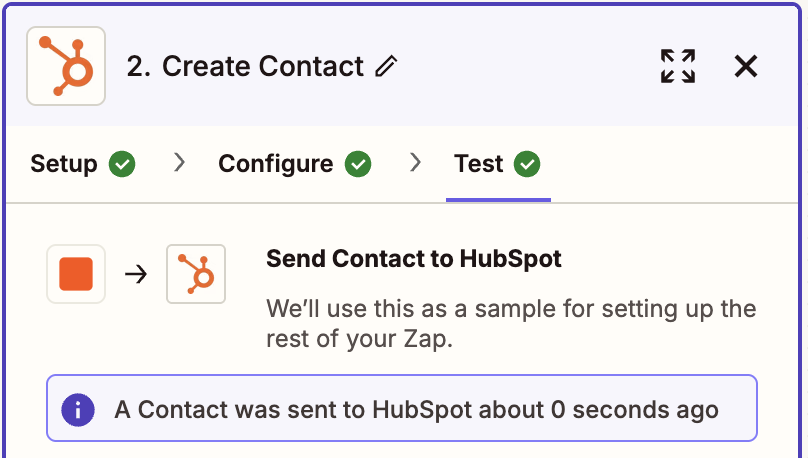
11. Click Test step to test your Zap.
12. If successful, you’ll see a confirmation message:
13. Check your CRM to verify that the test data has been transferred correctly.
14. Once confirmed, return to Zapier and click Publish to activate the automation.
If you need more information, don’t hesitate to reach out to our Customer Support team.