How to Add New Users to Your Workspace
Last updated: December 12, 2025
The following applies only if you're a workspace admin.
If you need to allow multiple users to log in to your workspace, follow these steps to provide each user with their own login credentials:
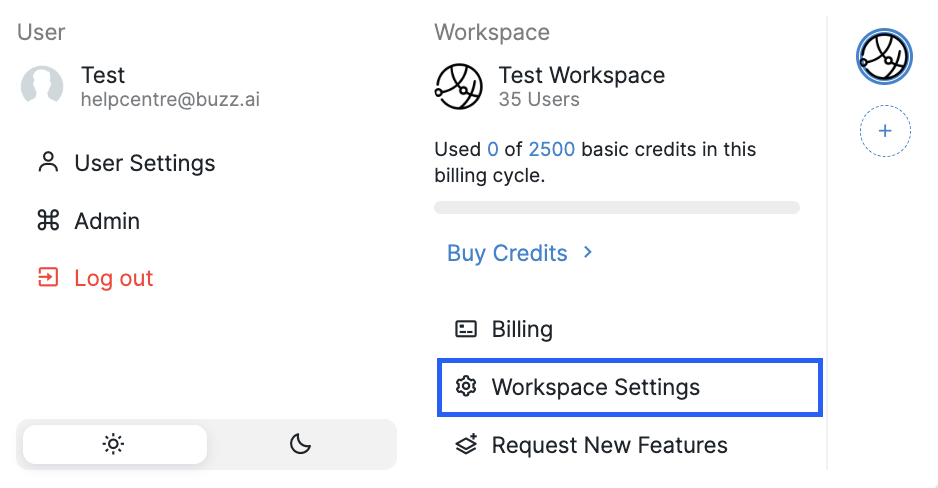
Click the dropdown arrow in the top-left corner of your page (next to the bell icon).
Select Workspace Settings from the menu.
3. In the Workspace Settings panel, choose Members.

4. Click Invite Member in the top-right corner and enter the email addresses of the invitee. If you wish to invite more than one person, separate the email addresses by clicking on the space bar after typing each one:

5. In the top-left corner, set their status as either Member or Admin based on the level of access they need.
6. Under the Tabs section, configure the access permissions for the invitees.
Here, you can also enable Buzz Browser access for the user you're inviting. If you do, they’ll be able to log in to our Browser using their connected Social Account.
You can also choose which Social Accounts your new users will have access to:

Alternatively, you can generate an invite code and share it with your users.
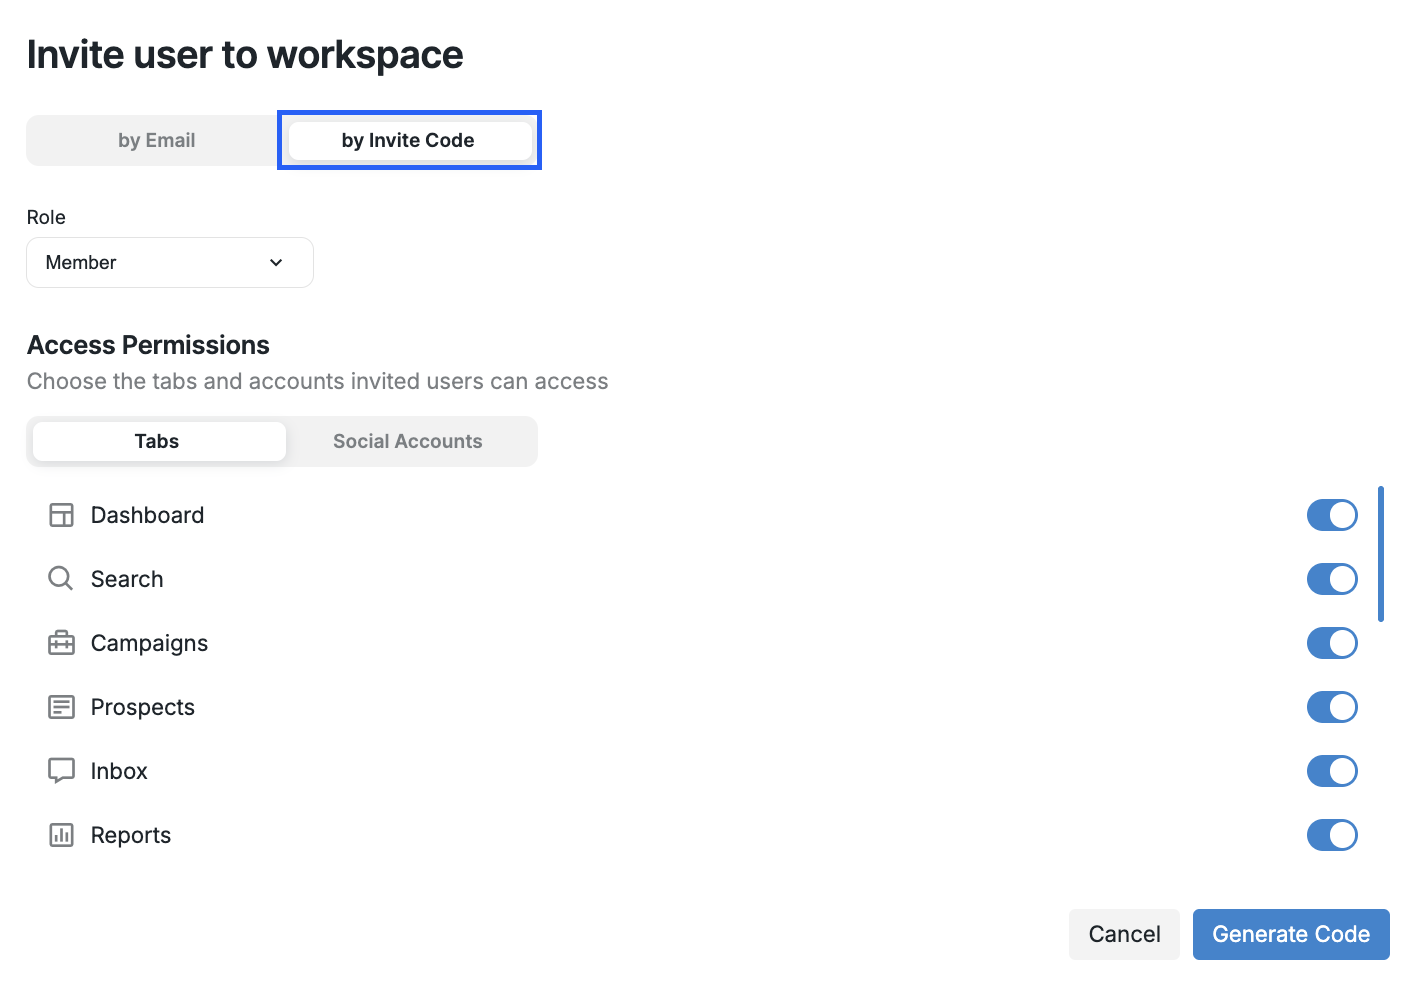
Configure the access permissions just as you would when inviting users by email, then click Generate Code.
How to Join an Existing Workspace as an Invitee
After you receive your invite code by email, you can sign up for Buzz and join your team’s workspace:
Start the sign-up process for Buzz.
When prompted, click Join an existing workspace.
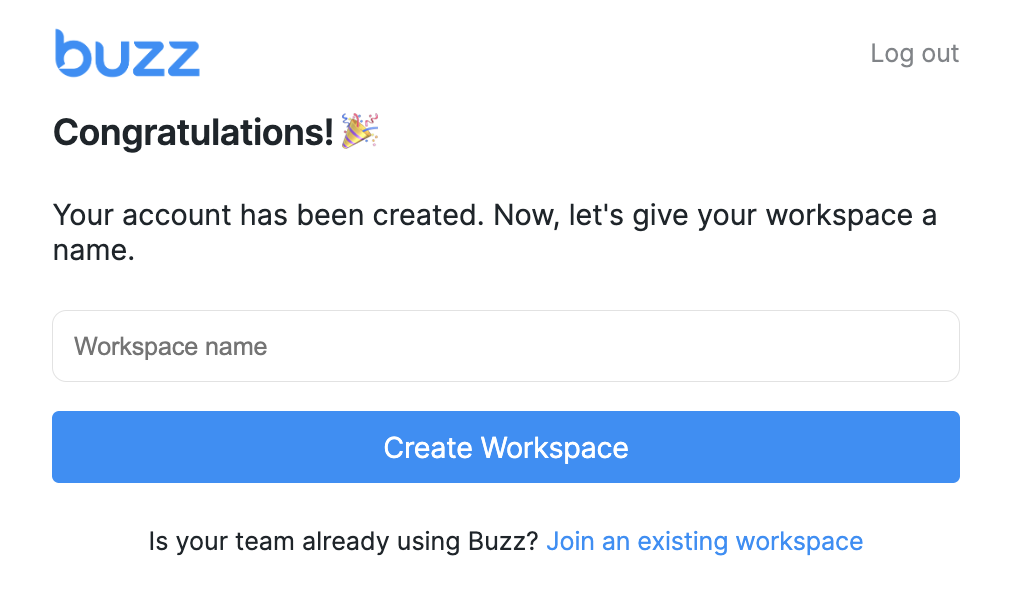
Enter your invite code into the Invite Code field and complete the sign-up.
For more details about managing user roles and permissions, please visit this article.