Adding Voicemail Drops to Campaigns
Last updated: February 13, 2026
Once your numbers are set up, it’s time to bring Voicemail Drops into your campaigns. This section walks you through adding the step, choosing recipients, and recording or uploading your message.
How to Add a Voicemail Drop to Your Campaign
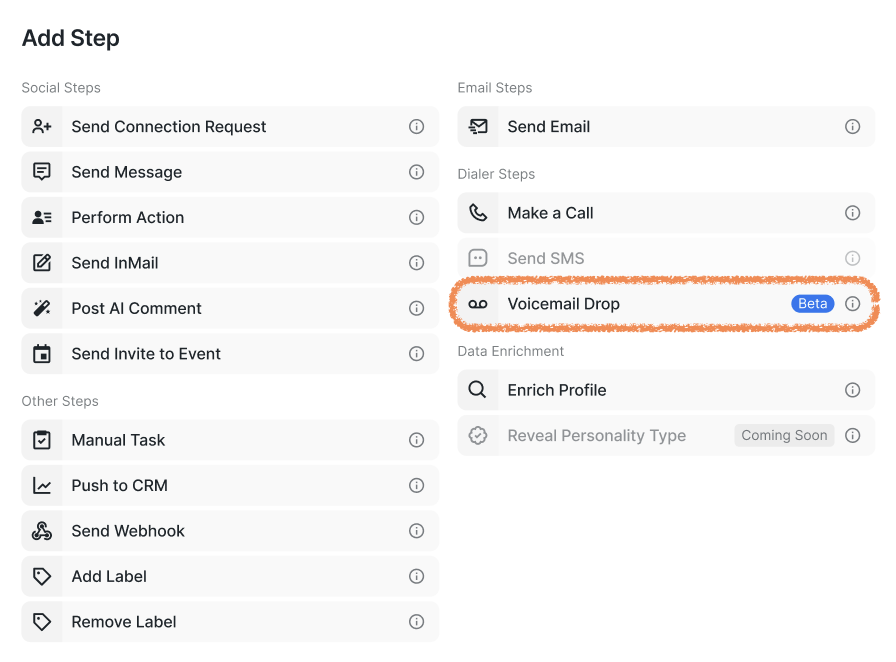
When creating a new campaign, select the Voicemail Drop option from the list of the Dialer steps.
2. Read and accept the Terms of Service.
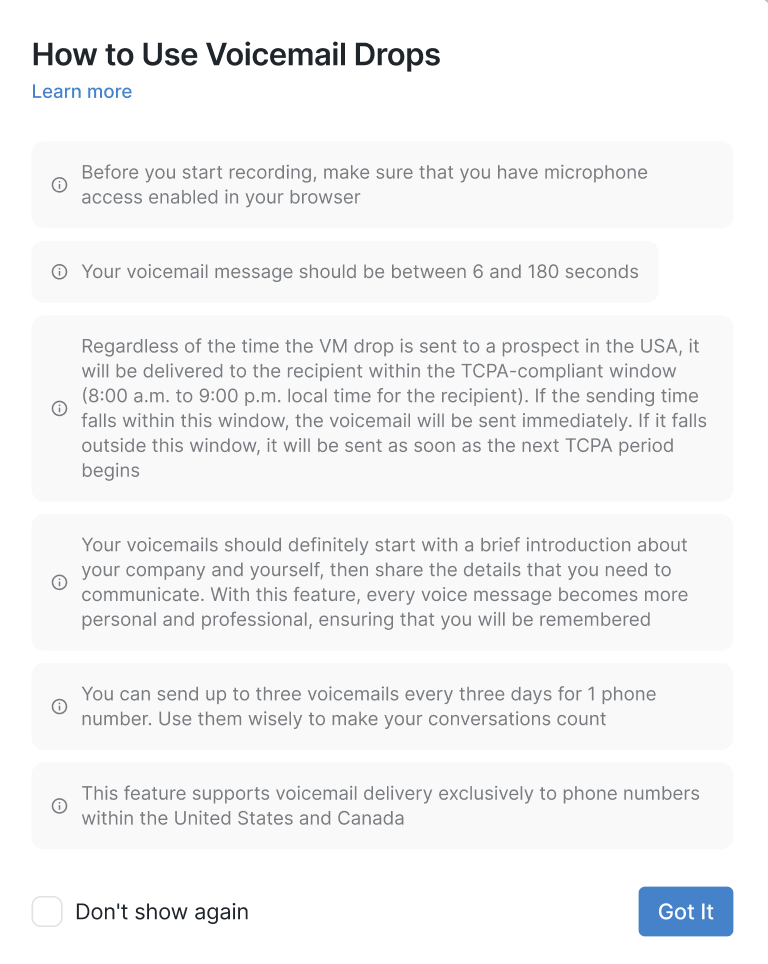
3. Read a short instruction on how to use Voicemail Drops.
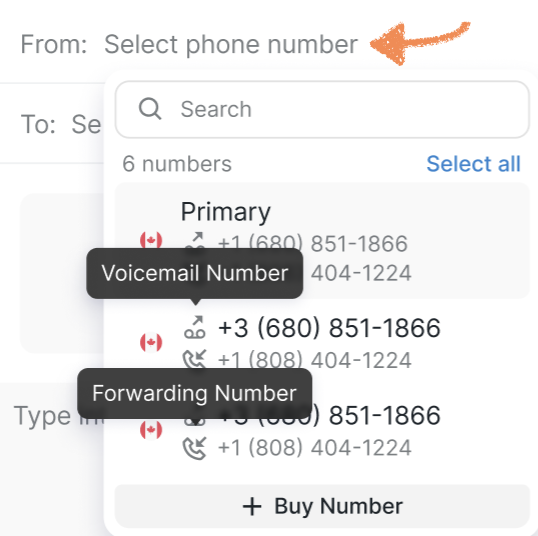
4. Select the number you’d like to send your voicemail from. Please note that each purchased number has a designated forwarding number (the redirect number you set). This is the number your prospect will be redirected to when they call you back.
If you don’t already have a voicemail number, you’ll be prompted to purchase one at this step.
You can choose several voicemail numbers, but be mindful of the sending limits.
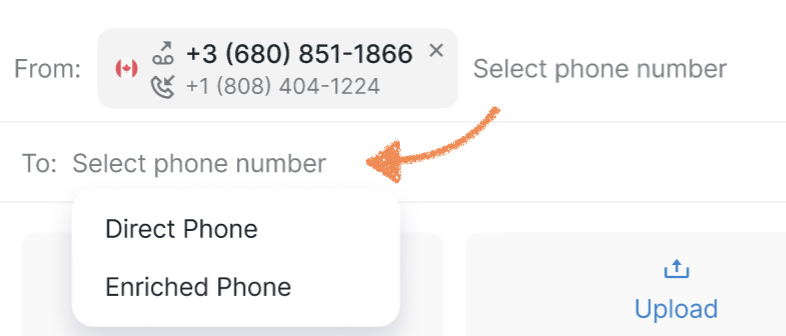
5. Choose the recipient’s number. You can send your voicemail either to a direct number or to an enriched number.
Please note: if you select an enriched number, new prospects without enriched phone details won’t receive the voicemail unless you add an 'Enrich Profile' step before the voicemail step, or enrich them manually.
You can also choose both phone numbers, but be mindful of the sending limits.
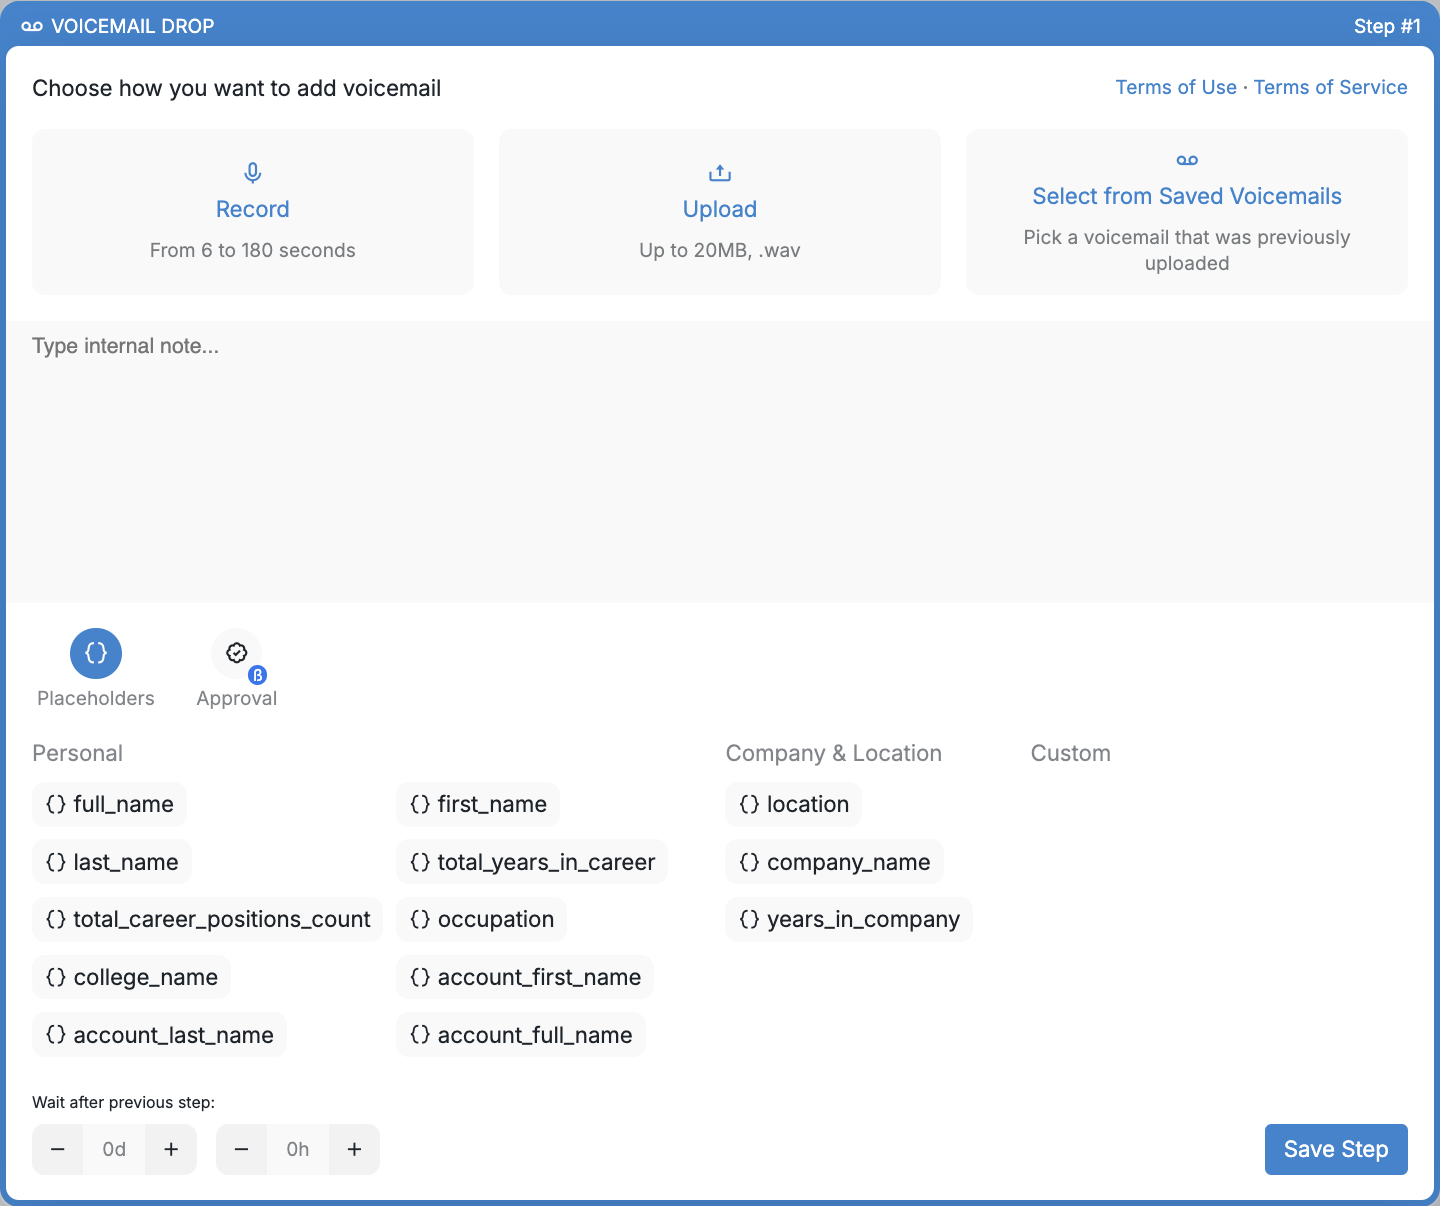
6. If this is your first time using Voicemail Drops, opt for Record or Upload. Be aware that uploaded files must meet specific criteria, as seen in the screenshot below.
To capture a new voice message, click on Record. If you have pre-existing recordings, you can select one by clicking Select from Saved Voicemails.
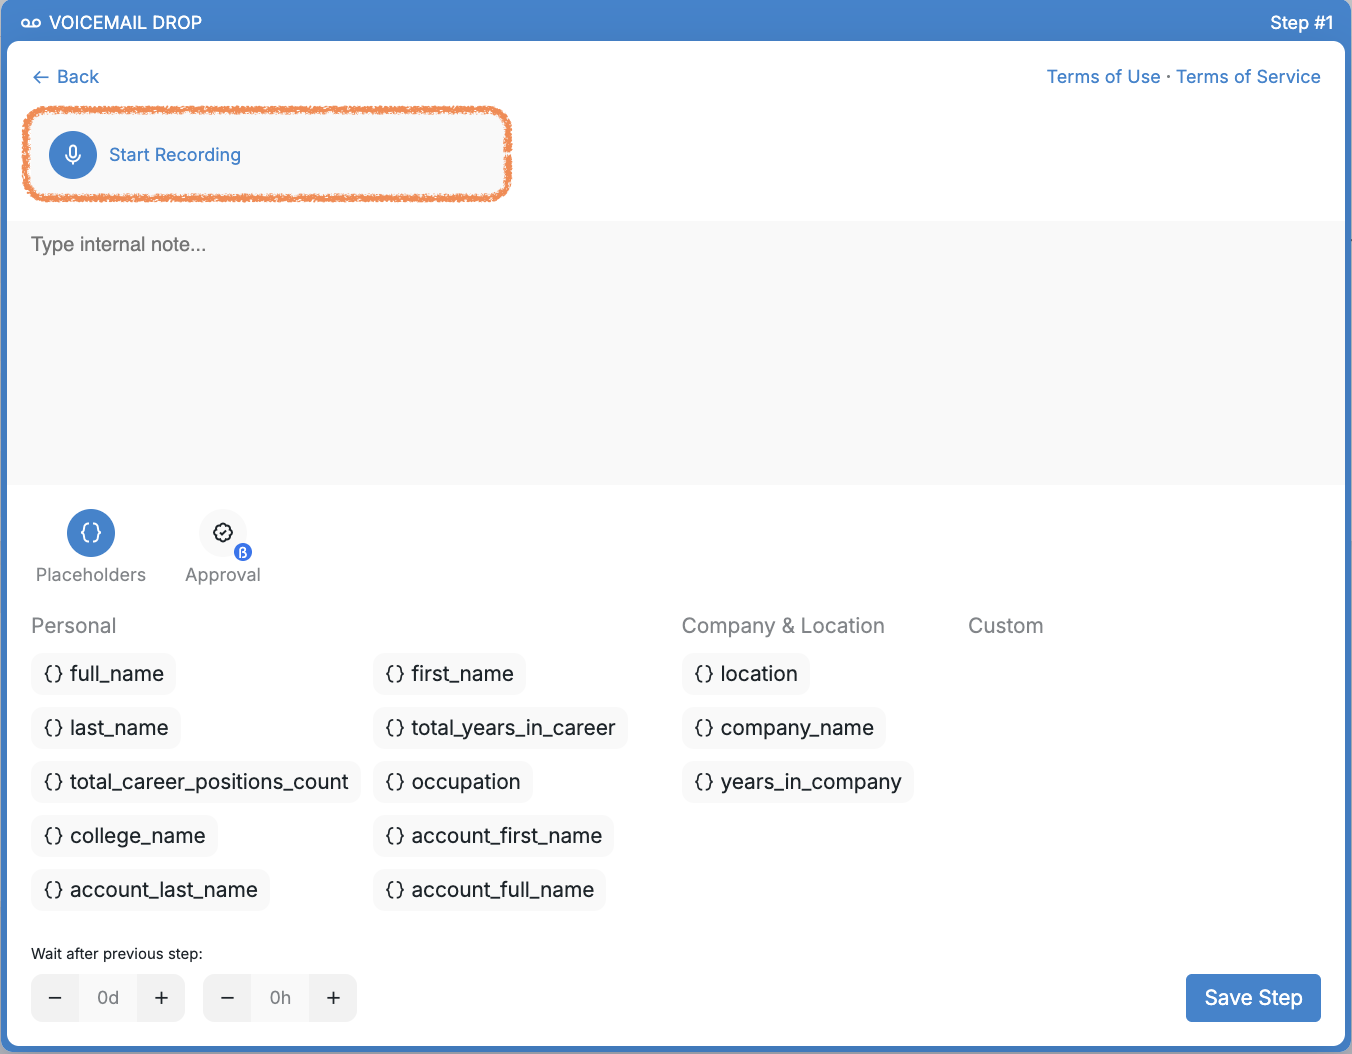
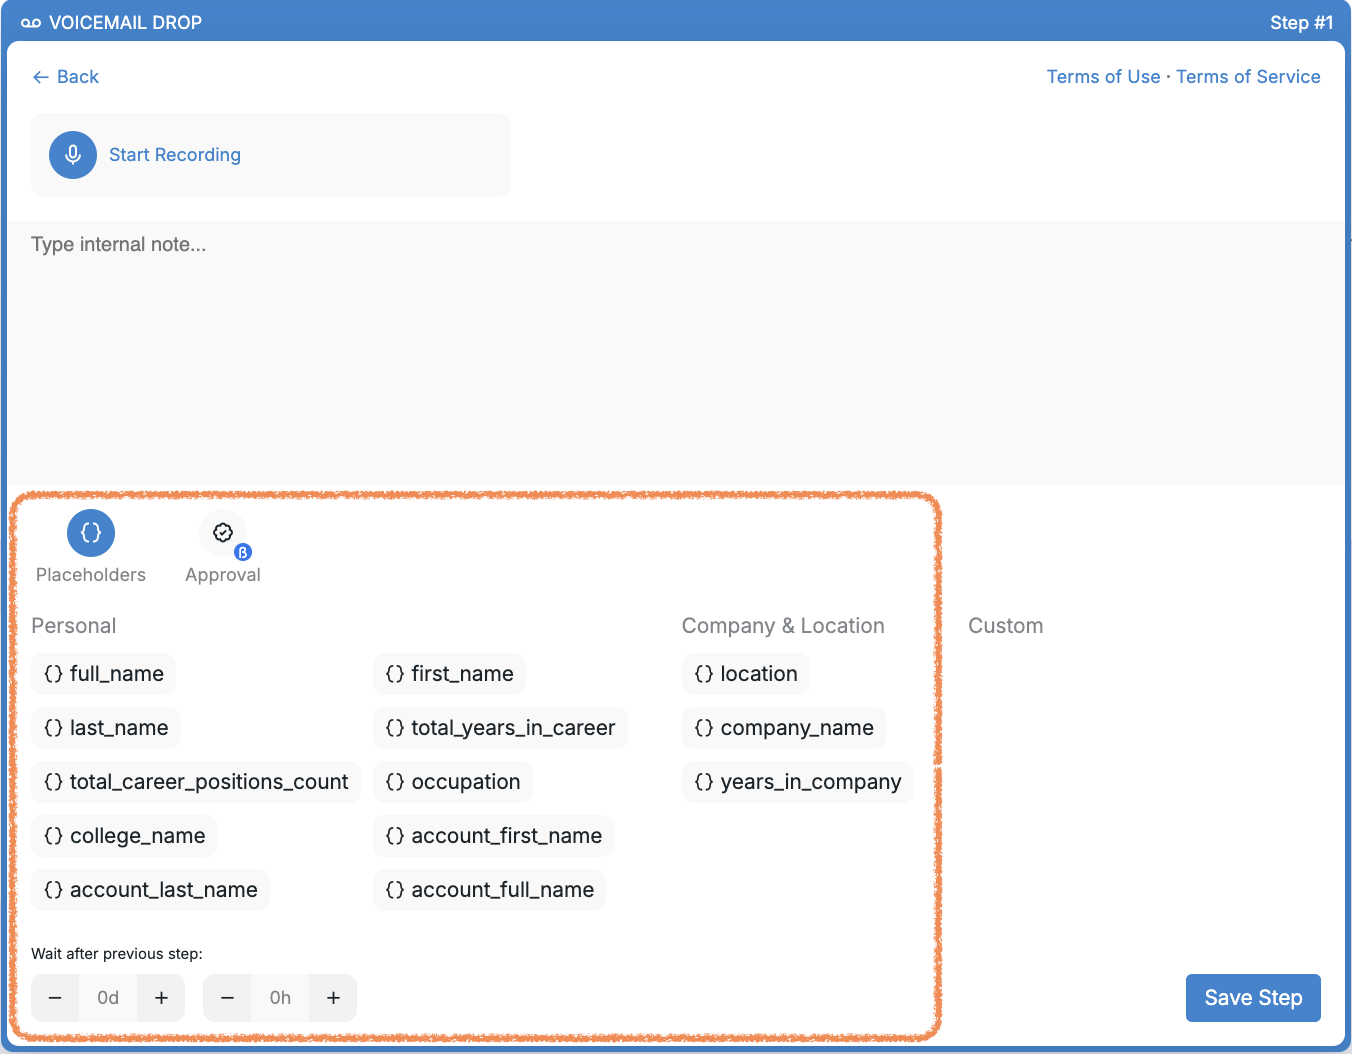
5. To record a new message, make sure that your browser has microphone access enabled, then press Record > Start recording.
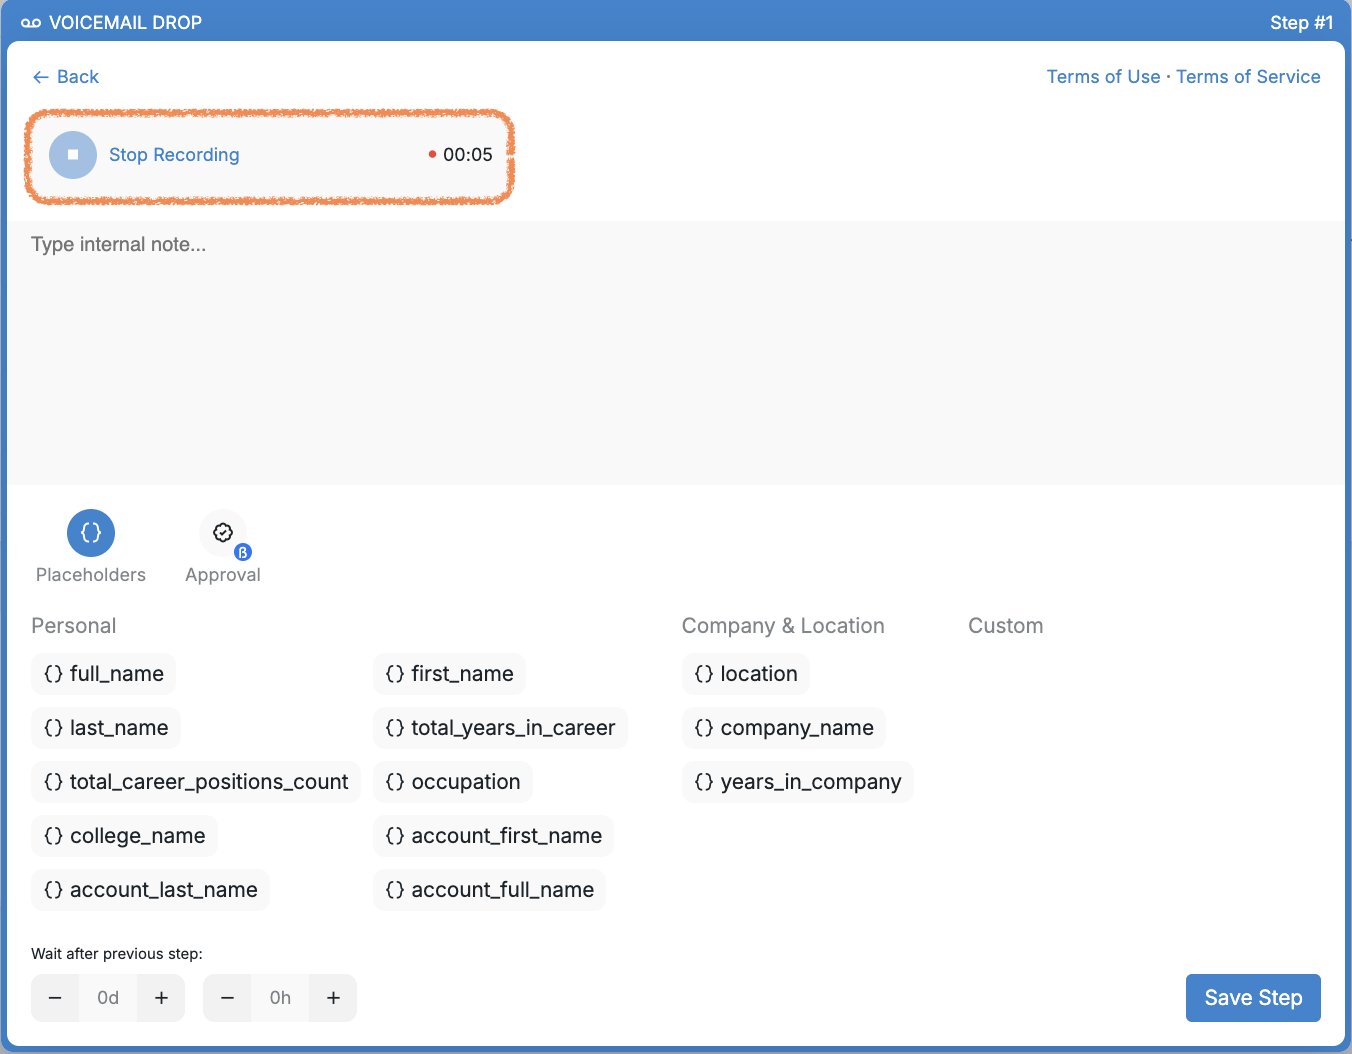
6. To finish recording, press Stop Recording.
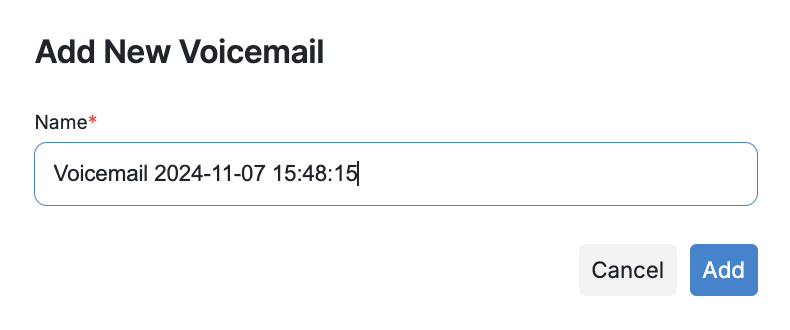
7. Name your voicemail and click Add.
8. Once you are finished, you can add a personal note to easily identify the message within your Inbox.
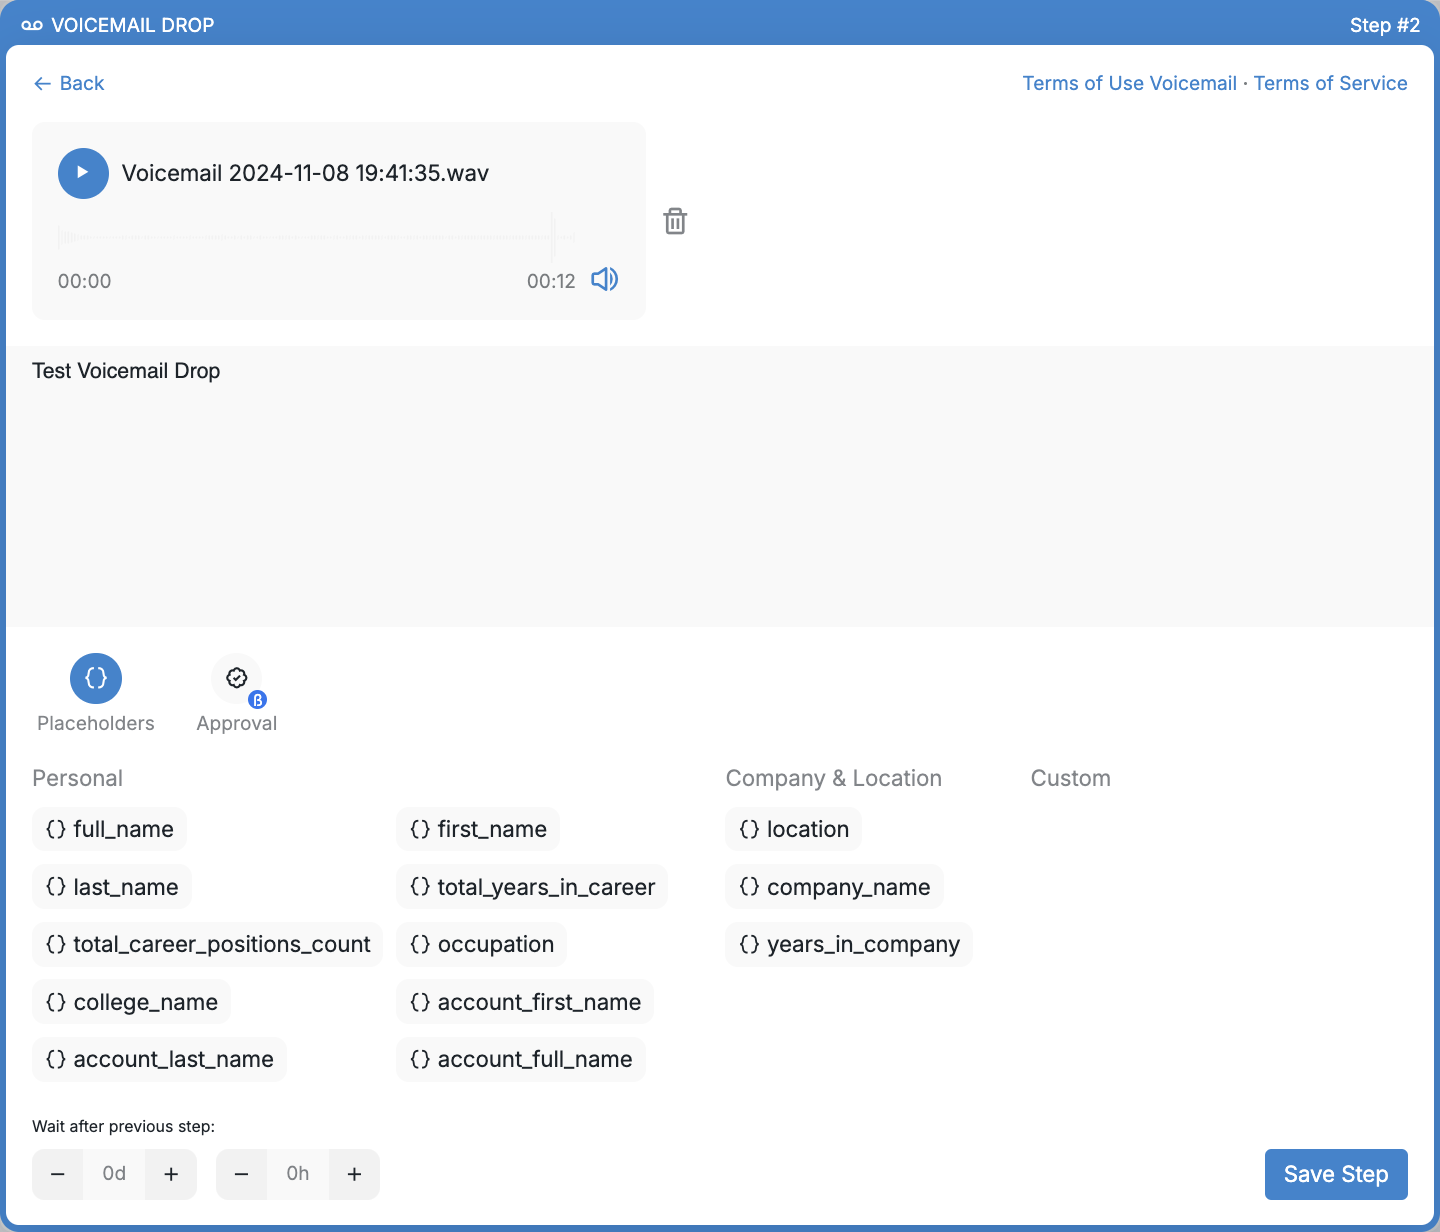
As with other steps, you have the option to add an internal note to your Voicemail Drop using placeholders, incorporate waiting time between steps, and enable manual step approval.
9. Finally, click Save Step to add the Voicemail Drop to your campaign.
Please note: If a prospect calls back after receiving a Voicemail Drop, they won’t be marked as Replied, and the campaign will continue performing all remaining steps for that prospect as usual.
To review all recorded messages, navigate to Resources tab > Voicemail Drops > Recordings.
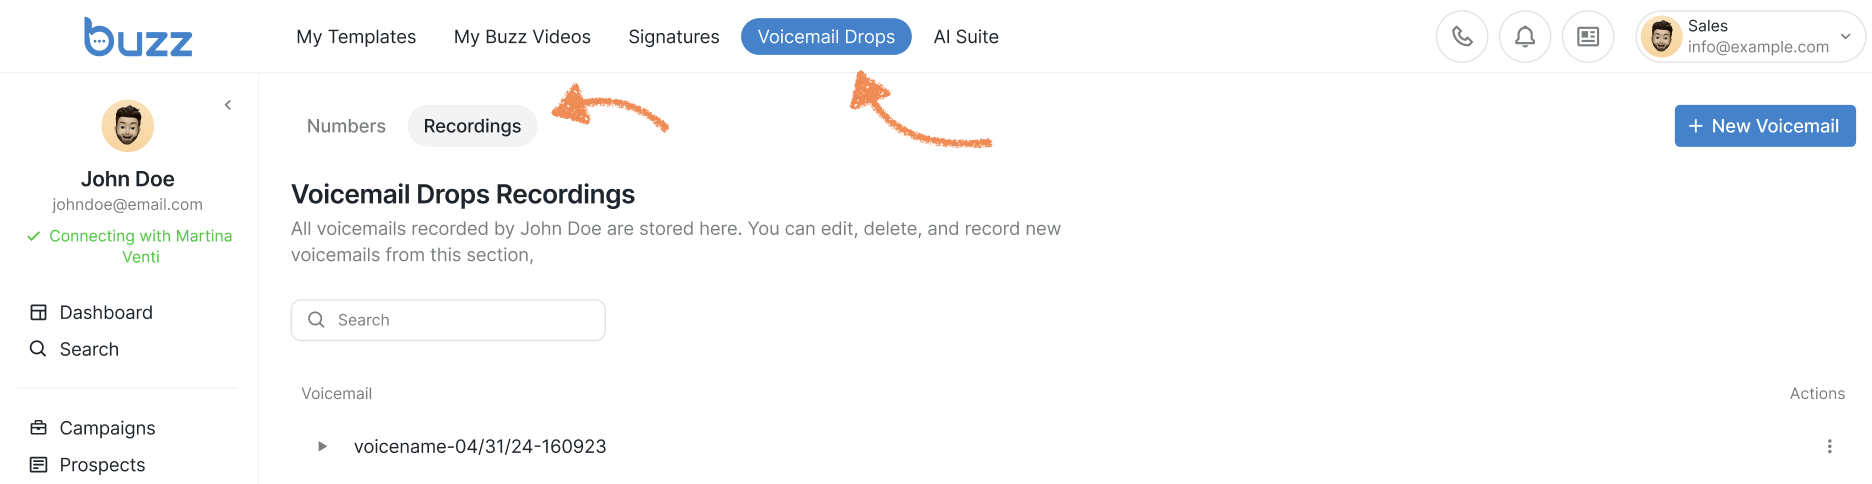
Click on + New Voicemail to upload a pre-recorded voicemail straight from your device. Alternatively, in this section you also have the option to record a new voicemail.
If you click on the three-dot menu next to a voicemail, you will see options to edit or delete it.