
Having trouble creating a Buzz account? Not to worry, we’ll guide you through the setup process one step at a time.
If you’re a new Buzz user then the first step is registering for an account. The process is simple, but you can find guidance on how to create your account below:
- First off, you’ll need to head to dash.buzz.ai
- Click on “Sign up” - you can find it underneath the big blue sign in button.
- Enter your personal information, such as your name, company, and contact details.
Note: Some information fields - like company industry and country - have dropdown options. Simply select which one best applies to you.
- Take care to read the Privacy Policy and Terms & Conditions. Once you’re happy, check the boxes to say you’ve read and accepted them.
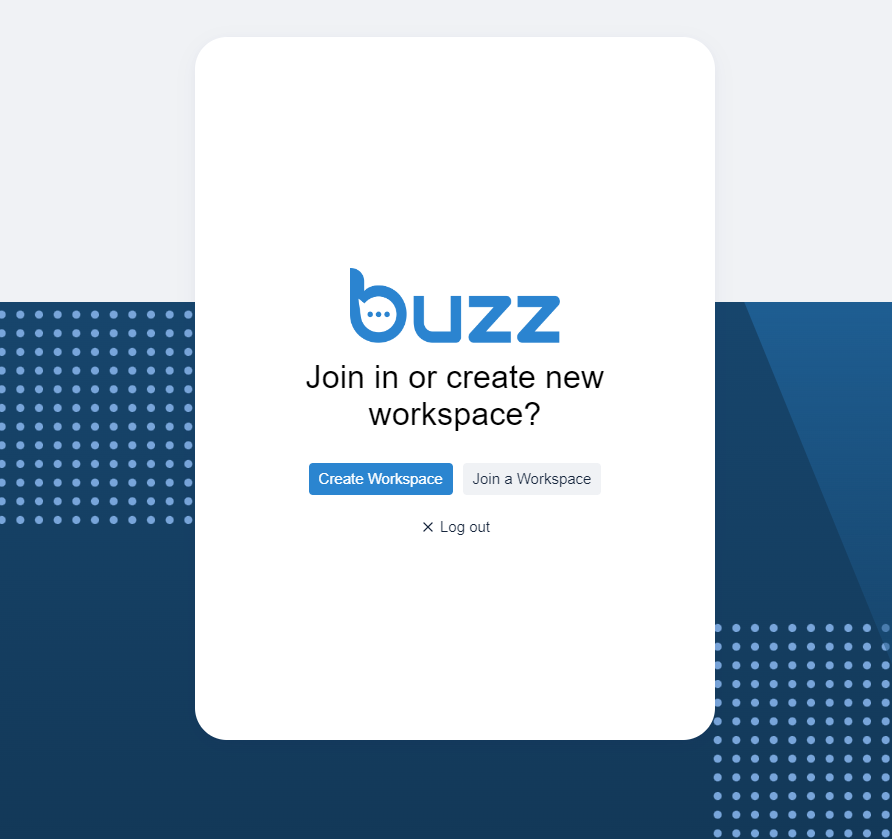
- Next, you’ll be offered two choices for setting up your Buzz Workspace. Click on the one that best suits you.
- If you’re creating a new Workspace, simply enter the name you want your Workspace to be called and click “Create”.
If you’re a solo user or want to start a new Workspace, select “Create Workspace”. If you’re creating an account to collaborate with team members and colleagues, select “Join a Workspace”.
- Congrats! Your Workspace is created! Now it’s time to pick your payment plan.
There are three plans to choose from: the Basic plan, the Essential plan, and the Pro plan. - Once you’ve selected your plan, you will be redirected to the payment page. Here, just enter the payment details for your credit or debit card, and the first month’s payment will be taken.
- Once your payment details are verified and the first month’s fee has been taken, you’ll be redirected back to the Buzz homepage where you can begin to connect your LinkedIn account.


Thanks for choosing Buzz!