AI Employee: How to Create and Set Up
Last updated: April 2, 2026
The AI Employees feature enables you to create and configure AI-driven employees who will handle prospect communication and schedule meetings with your prospects via Calendly.
AI Employees support handling your Social Platform conversations, as well as email and SMS communication with prospects.
How to Create and Set Up an AI Employee
Creating an AI Employee is a step-by-step process that includes company research, targeting setup, messaging configuration, and optional enhancements like case studies and free value offers.
Head to the AI Employee tab by going to Workspace Settings > AI Employees:

From here, you can manage your AI Employees by either editing existing ones or creating new ones.
How to Create a New AI Employee
Click + Create Employee in the top-right corner of the screen.
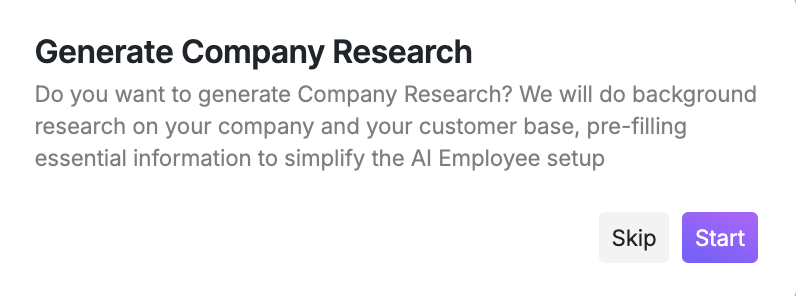
You will have the option to generate company research. This step gathers information about your company to help the AI Employee better identify potential customers. While it's optional, we recommend you perform the research to get the most out of AI Employee.
3. Provide a URL link to your company’s website and specify the type of prospects you want to find. You can further refine your audience description by adding a more detailed description in the text field.
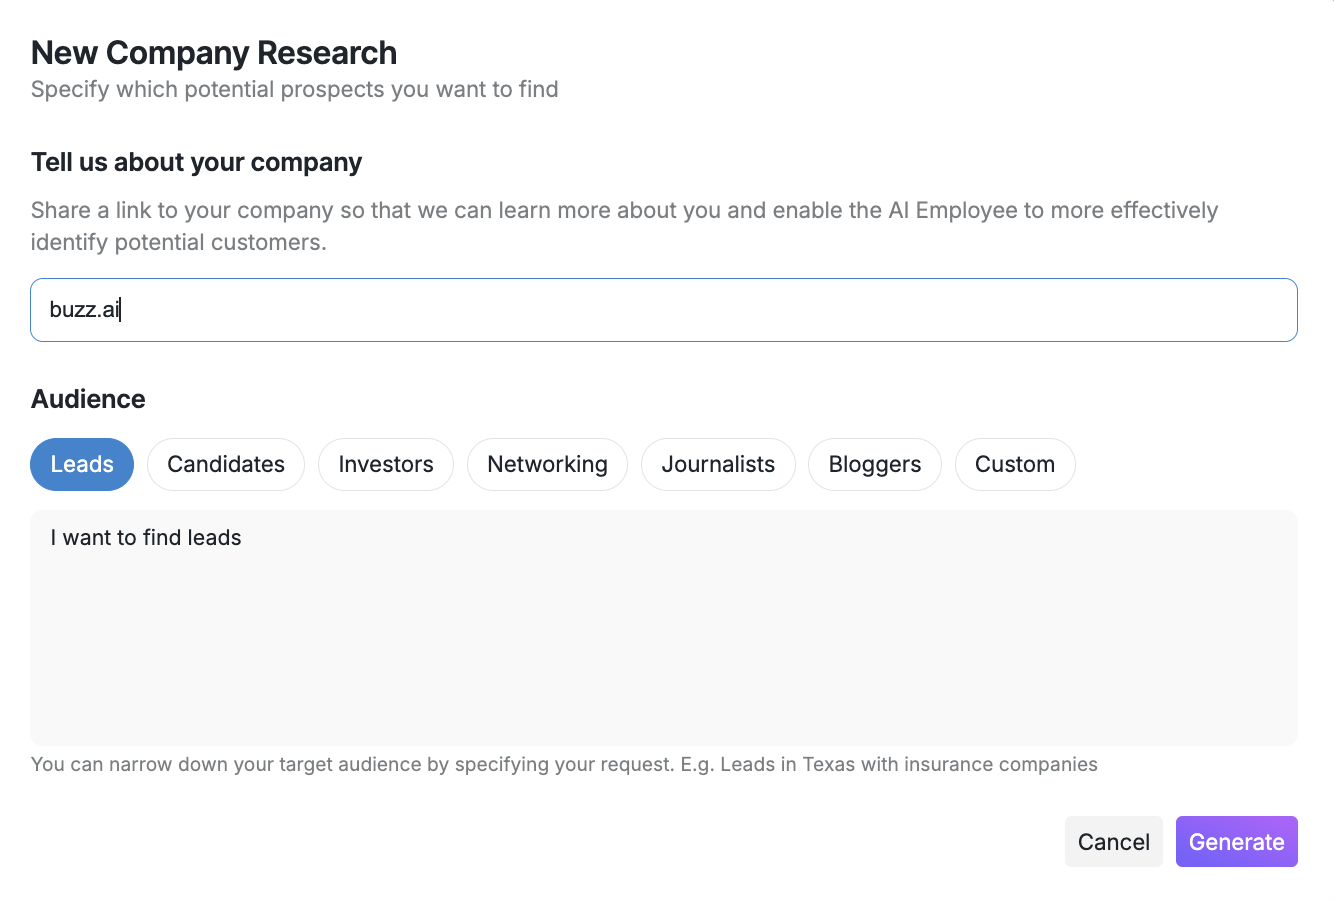
After you have finished filling the fields, click Generate to proceed. The process may take up to 30-45 seconds to finish. If the research takes longer than 2 minutes, please contact our Customer Support team.
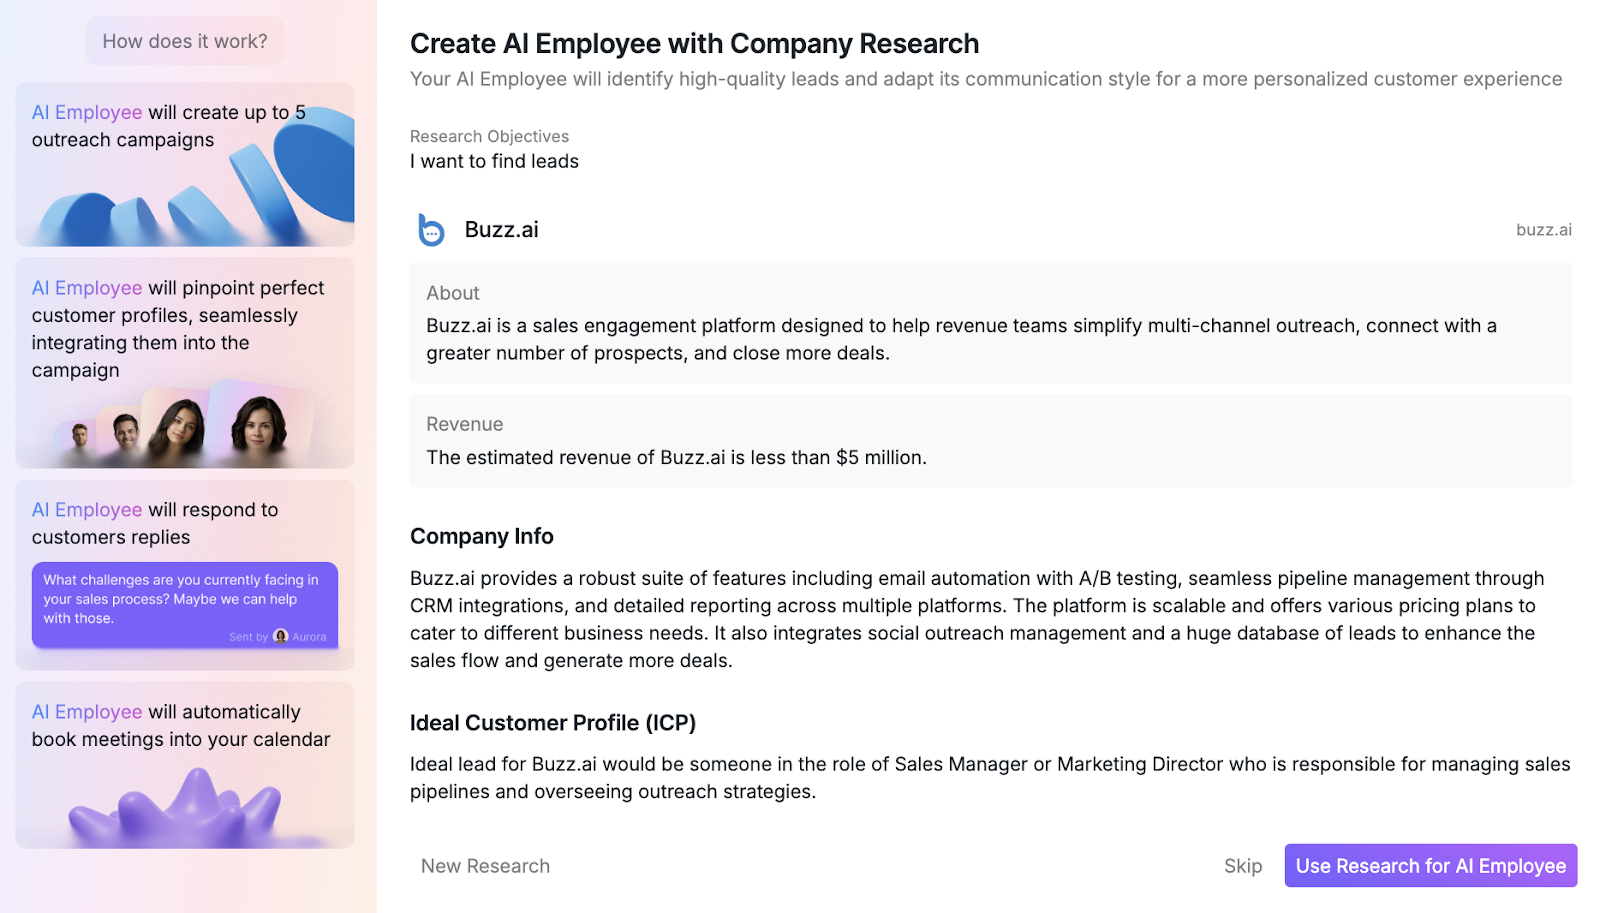
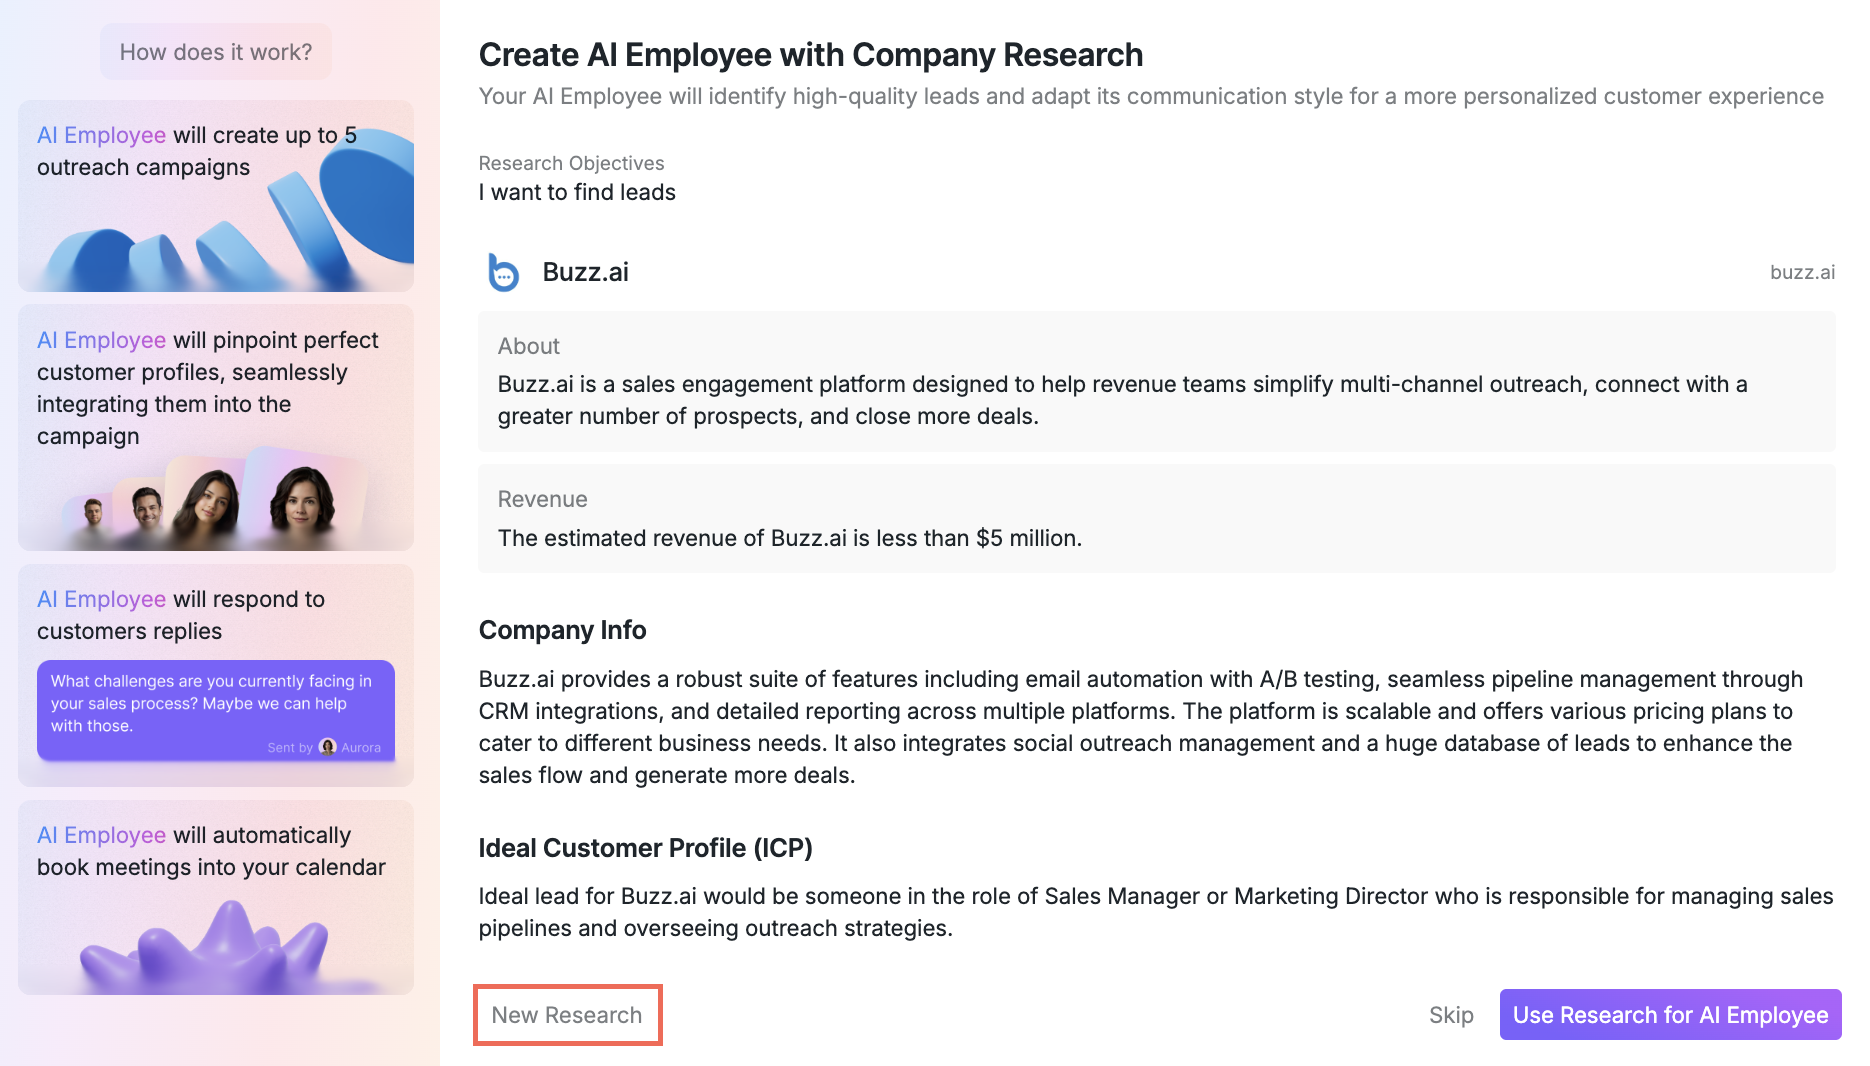
4. Once the research is complete, you will be taken to your AI Employee overview page.
Scroll through the collected data to ensure all details are accurate:
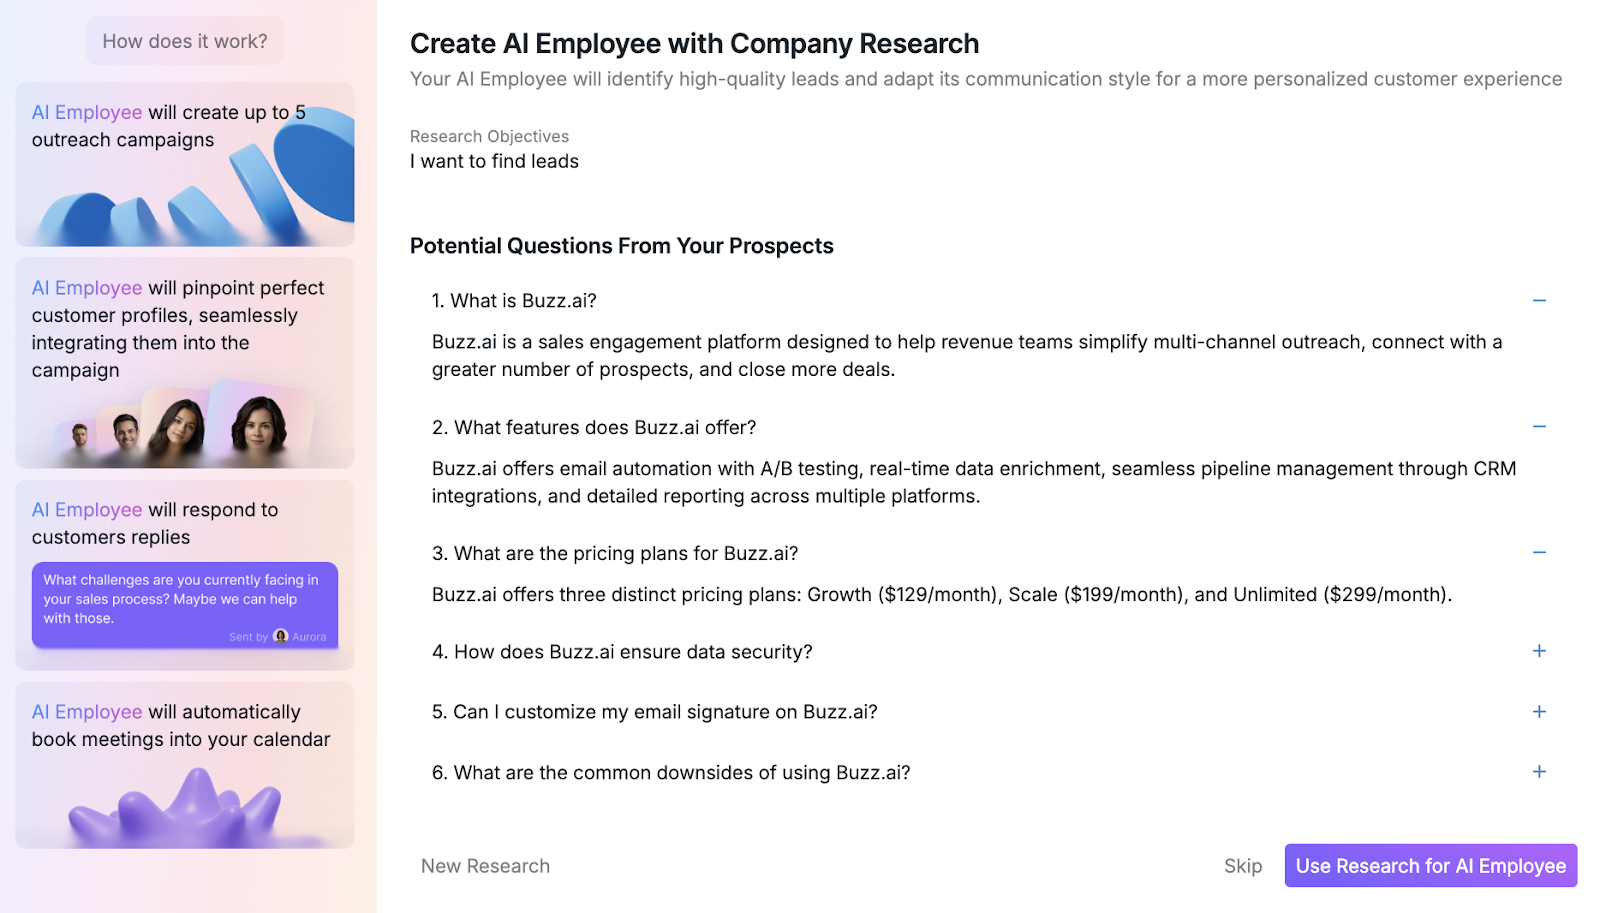
Scroll down to check the Q&A Section, which is prepared based on the research, to review the information your Employee will use to generate its responses. You will be able to edit the Q&A section in the following steps of the AI Employee setup.
If you want to regenerate the research, click New Research in the bottom left corner:
Your research is accessible at any time by going to User Settings > Company Research. You can run up to 5 research entries per day.
To proceed, click Use Research for AI Employee.
5. Choose an avatar by clicking the arrow button under the description of the AI Employee:

Targeting
This setting removes the guesswork from finding and adding prospects to your campaigns. Define your search criteria once, and your AI Employee will remember your preferences to consistently find the right prospects for your campaign.
You can configure the following search parameters:
Job Title: Enter the job title(s) you want to target or select them from the dropdown list.
Country: Currently, only the United States is supported for targeting, with more countries coming soon;
State Region: Select the state where you would like to focus your search;
Industries: Begin typing your desired industry and choose from the available options;
Company Size: Specify the size of the company where your potential prospects are currently employed, based on the number of employees.
Automatically Expand Search Criteria
This optional setting expands your search if there isn't any new prospects matching your criteria.

When enabled, the AI Employee will prioritize the job titles you specified and expand other criteria to find more prospects for your campaign. When disabled, the search for new prospects stops if no more prospects meet the specified targeting criteria.
Click Next to continue.
Objective
If you chose to use Company Research earlier in the setup, these fields will be pre-filled automatically. However, you can still customize them to better suit your needs.
By defining the objective, tone, and language, you empower the AI Employee to automatically tailor the steps for future campaigns and communication, making the process more efficient. It reduces manual effort and allows you to focus on strategy while the AI handles the details.

You can customize the following:
Problem to Solve: Define the issue your prospects face (e.g., booking meetings, saving time, managing benefits).
Solution: Explain how the problem will be addressed (e.g., using software or a service).
Interest: Specify why the prospect might be interested in your offer (e.g., introducing a new feature).
Language: Select from English, Chinese, French, Spanish, German, or Arabic.
Tone: Choose the tone AI Employee will use it communication with prospects.
To customize any of the fields, click on the purple text and type your input.
Click Next to proceed.
Case Study
This step is optional. You can continue without completing it.
If you chose to use Company Research earlier in the setup, these fields will be pre-filled automatically. However, you can still customize them to better suit your needs.
Showcase up to 3 successful examples of your product in action.
To do that, click +Add Case Study and complete the customizable fields:
The name of the company you have helped;
The concern that was solved;
How it was resolved;
Optionally, toggle Add Case Study URL to include a link to your case study.

Free Value
This step is optional. You can continue without completing it.
If you chose to use Company Research earlier in the setup, these fields will be pre-filled automatically. However, you can still customize them to better suit your needs.
Highlight free offers for your prospects:
Specify what you’re offering for free.
Detail the actions prospects must take to claim it.
Explain how it benefits their performance.
Include up to 3 free value proposals and add links where applicable.

Q&A
If you chose to use Company Research earlier in the setup, these fields will be pre-filled automatically. However, you can still customize them to better suit your needs.
Create questions and answers about your services, so that the Employee can use these Q&As to generate the most relevant response based on the available data.
To add a question/answer, click + Add Q&A and fill in the fields:

Settings
In this tab, you can set up your Calendly Integration to book meetings with your prospects. To find out more about integrating Calendly with AI Employee, please visit this article.