How to Add Custom Fields to Prospect Profiles
Last updated: June 5, 2026
Adding custom fields to individual prospect profiles is straightforward.
When would you manually add custom fields?
The most common reason is to assign unique information to a prospect and use it in your campaign messaging.
A typical example: you're running a campaign with a CSV file that includes custom fields, but some prospects are missing values for those fields — which causes them to move to Pending status. In that case, you can manually add the missing custom fields directly to those pending prospects.
Make sure the field names match exactly what's in your CSV file.
How to add custom fields
To add a custom field, navigate to the Prospects tab and choose a prospect you want to assign it to:
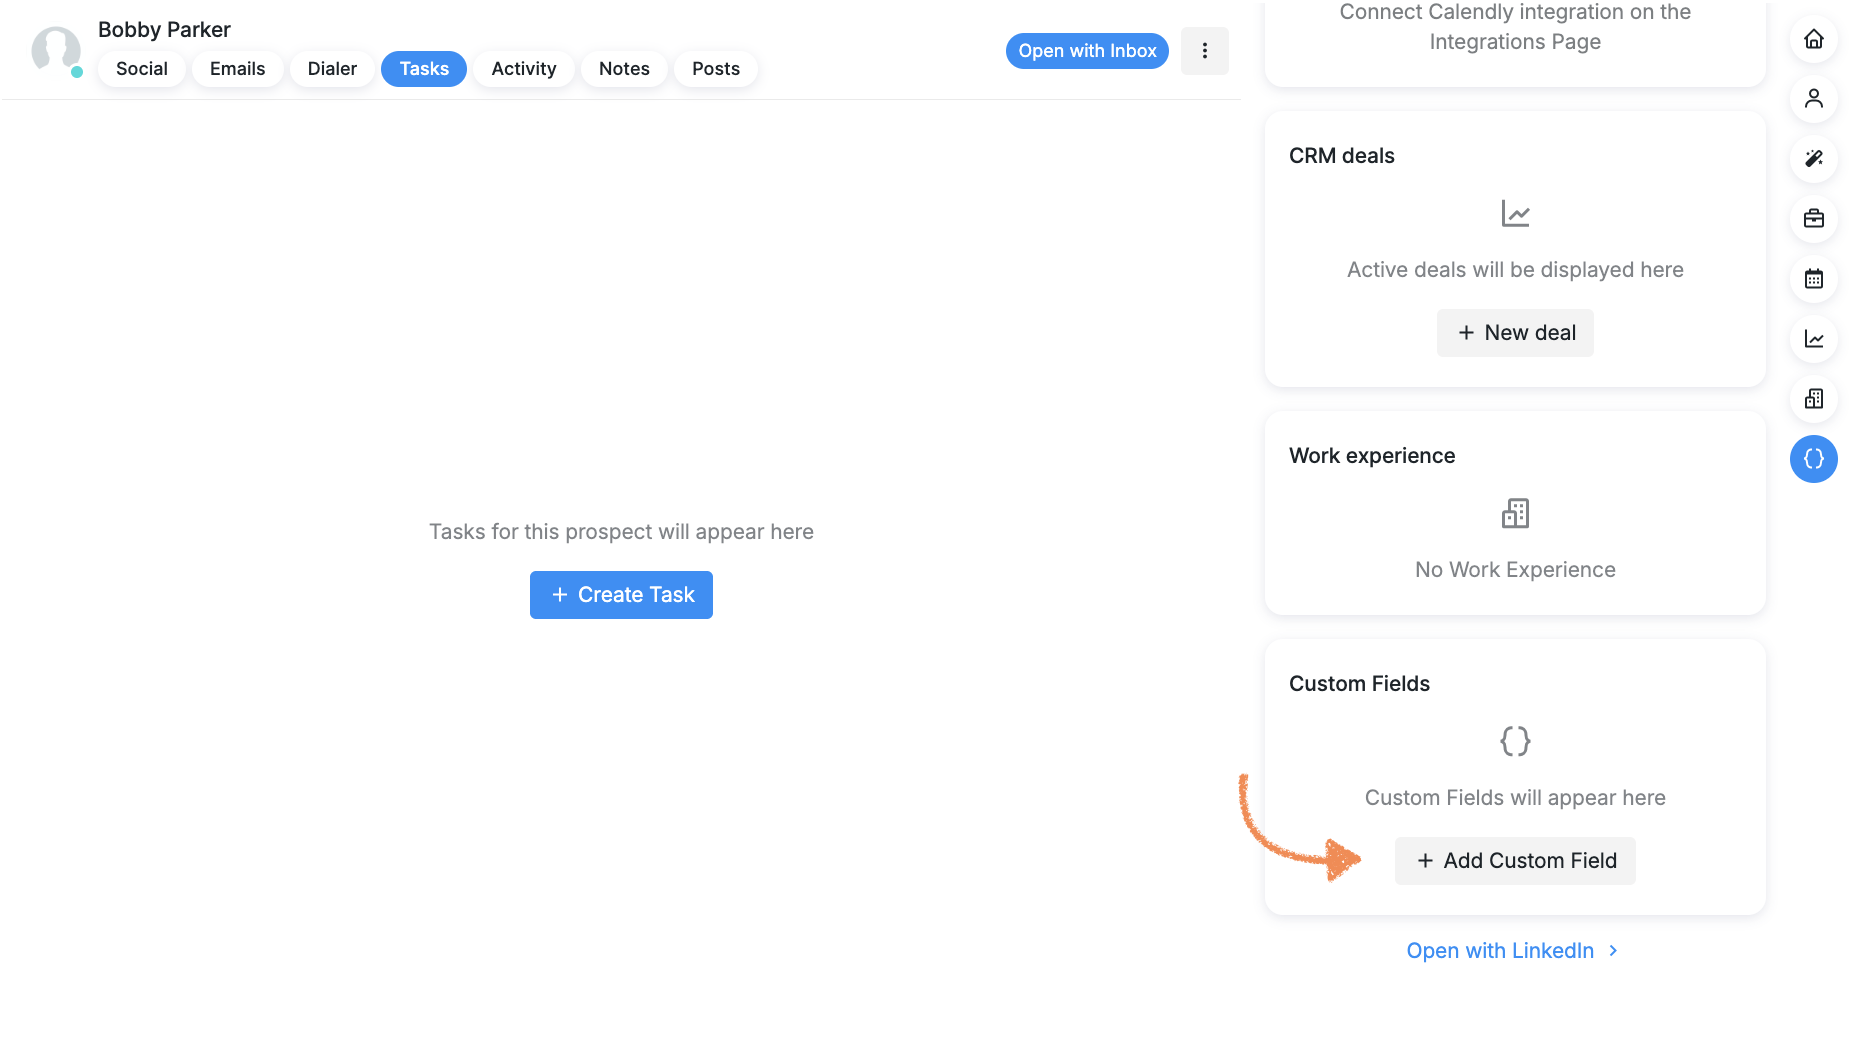
Click on + Add Custom Field. You will be prompted to create and define the field.
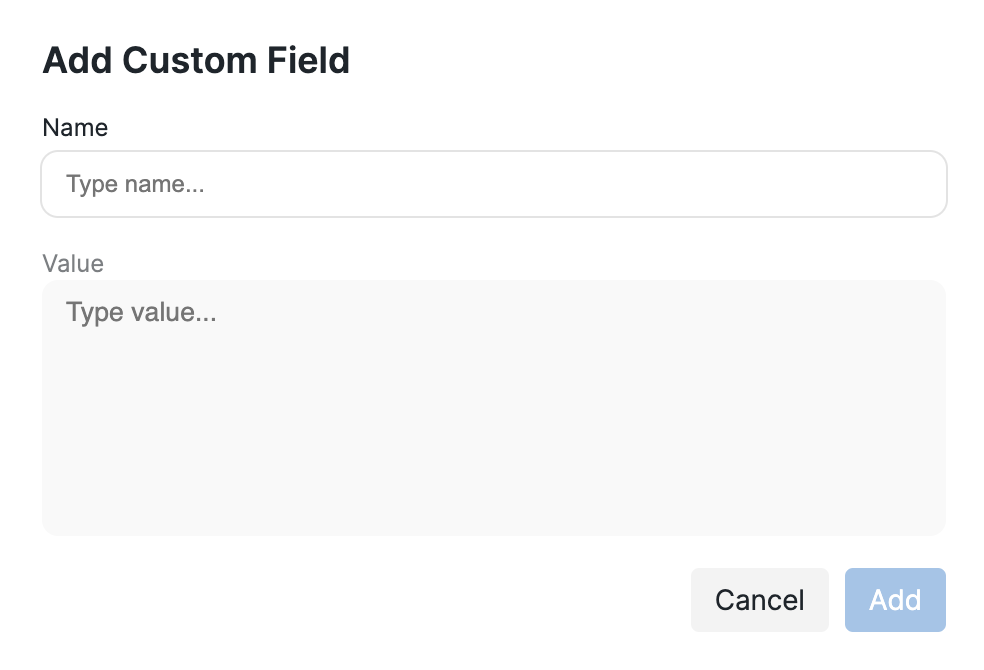
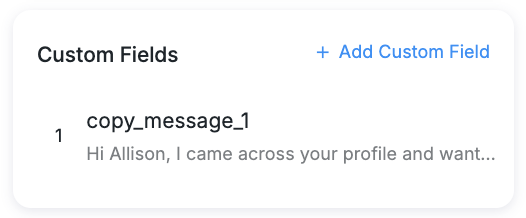
Name: Give your custom field a name that clearly describes the information it should hold, for example, copy_message_1.
Value: Type in data you want to add and store to the field (e.g., address, text, date, message body).
Once you have defined the field, click Add to add it to the prospect's profile.
NOTE: Placeholders inside custom fields are currently not supported. If a placeholder such as
{{Company Name}}is placed inside a custom field value rather than directly in a message step, it will cause the prospect to go into Pending. Use actual values in custom fields instead of placeholders.
For other ways to troubleshoot prospects going into Pending because of an incorrect custom field, please visit this article.